TARDIS
1:6 Scale TARDIS Model Commission
Over the years I've built so many TARDIS reproductions, both big and small, that I could just about make them in my sleep!
Ever since the last full-sized TARDIS I built, I'd wanted to make a scale model version of it. It was my favorite since I had finally been able to design one that appealed to my own aesthetic sense while also appealing to the client.
In 2017 I was commissioned to build a scale model of the TARDIS for an art gallery show, so that seemed like the perfect opportunity!
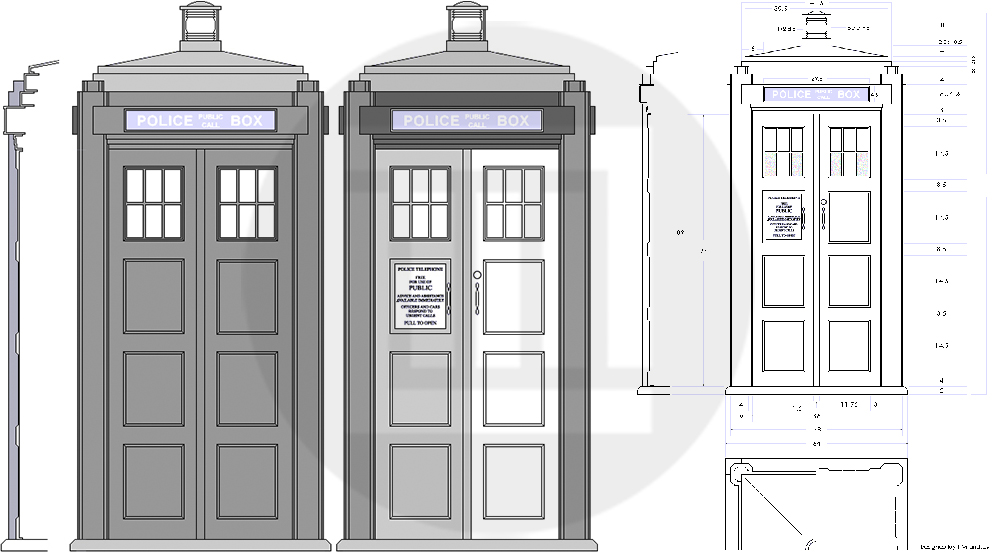
Concept & Planning
I took the blueprints I had drawn for a 1:1 version, scaled them down to 1:6 scale, then re-drew and re-engineered all of the pieces as vector files for my laser cutter. I chose 1:6 scale since it wasn't too big, but was still big enough to be impressive.
Design & Engineering
The majority of the model is 1/8" thick MDF. I wanted to use 1/8" plywood, but the woodgrain would not be "scale". So for an added sense if realism, I took photographs of woodgrain and scaled them down to 1:6th scale.
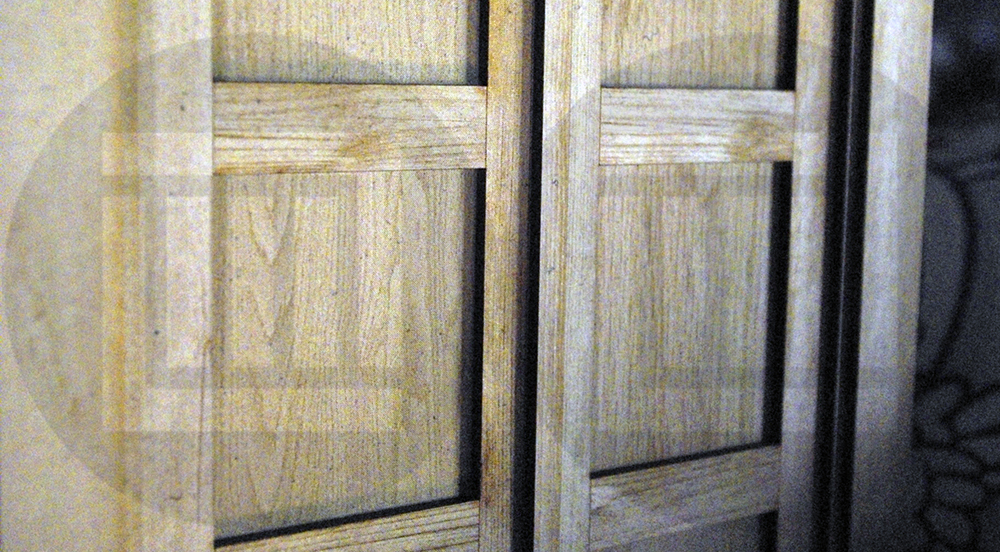
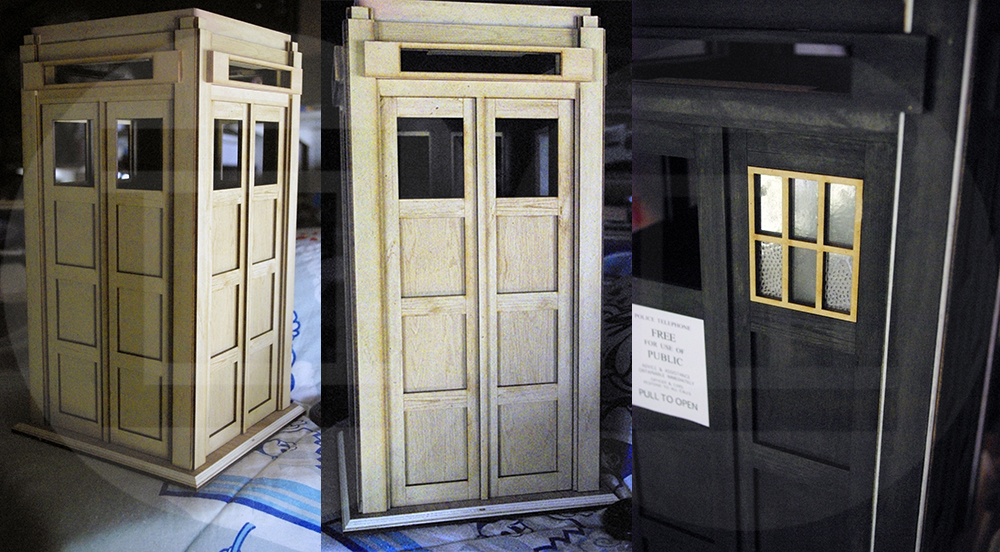
Fabrication
Then, over the course of 16 hours, I laser-etched the woodgrain onto every sheet of material. After each of the MDF sheets were etched, I cut the pieces out. Then I assembled them and set them aside for painting.
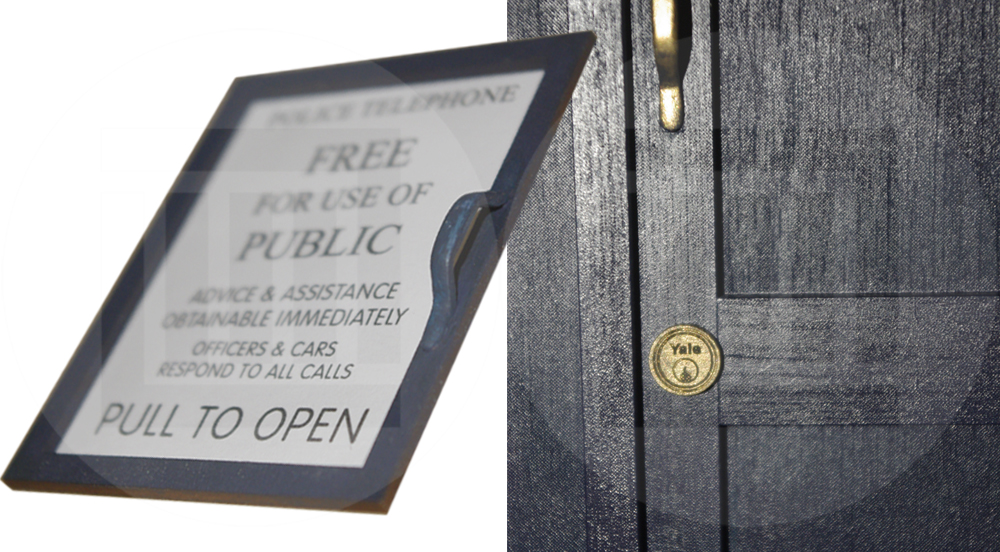
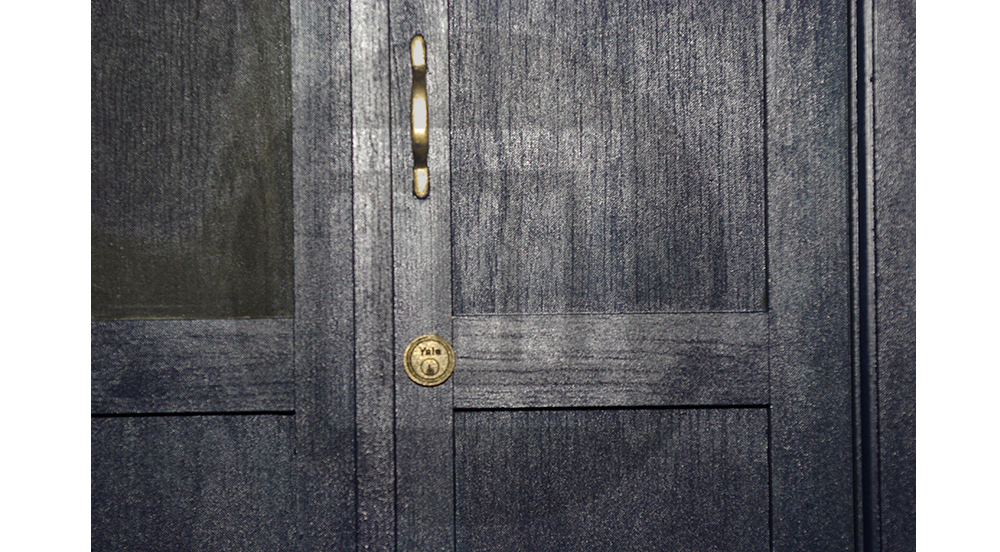
Fine Details
I couldn’t find scale door handles, so I spent 10 hours hammering heavy-gauge copper wire flat, bending it to shape, then filing the contours and rounding off the edges to make them. The detail for the Yale door lock is accurate to the TV prop. It even has a key hole etched in!
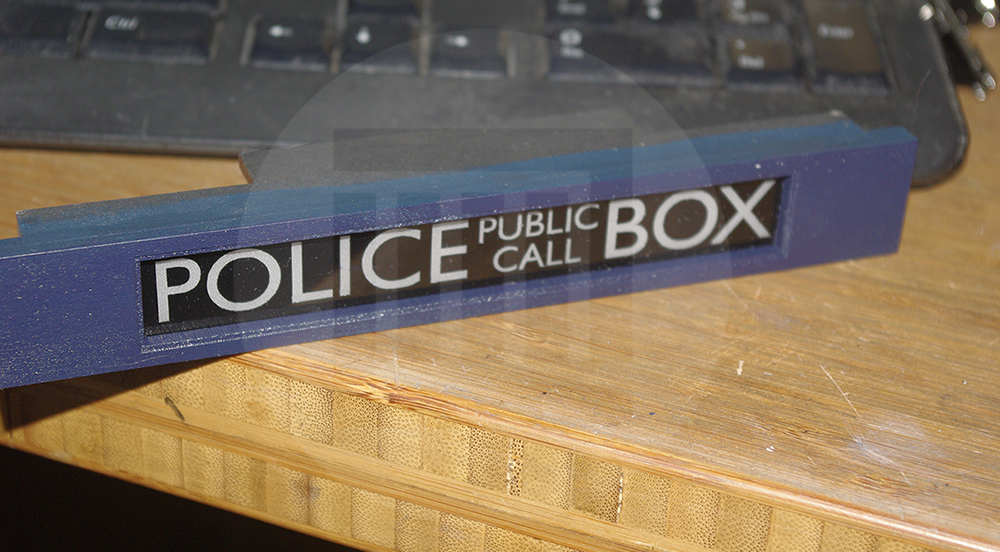
Signs
The signs were cut from clear acrylic with a frosted effect etched into the front and back surfaces. The sign graphics were cut from black vinyl for me by artist Georgia Beliech.
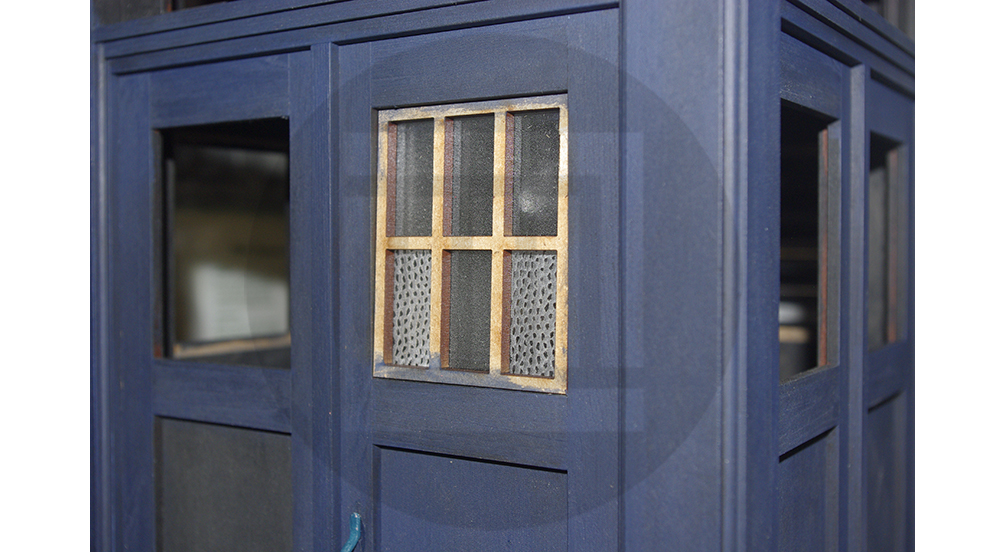
Windows
For the windows, I took a photo of the "hammered glass" texture that was used on the original Tardis prop's windows, scaled it down and laser-etched it onto sheet acrylic in the proper pattern, alongside the frosted glass panes.
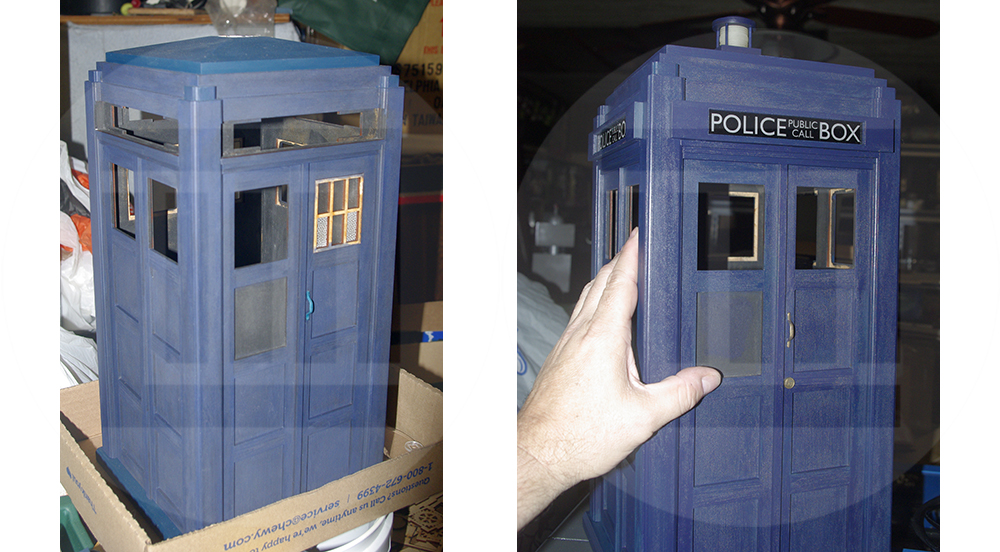
Assembly
I used small styrene quarter-round strips to finish off the corner posts and gave it a final inspection before painting. I had the frosted lamp "glass" 3D printed since I could not find a scale plastic one and I wanted to avoid tooling one out of acrylic tube on a lathe.
Painting
I dabbed black on as a base coat, then dabbed on two different shades of blue. I used a scaled down paint brush to dry-brush layers of Midnight Blue so that any visible brush strokes would be the correct size. This also ensured that the etched woodgrain still showed through.
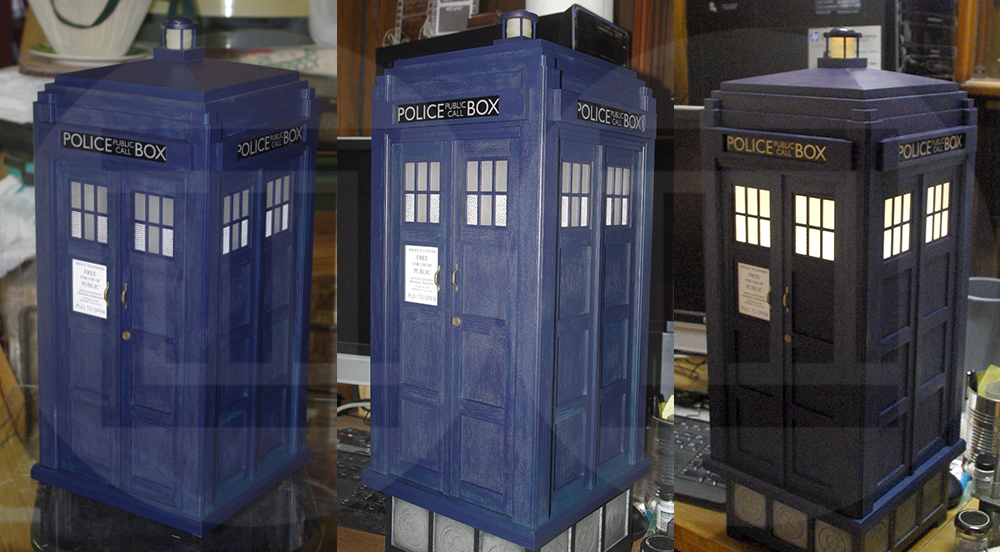
Final Thoughts
This project, like the 1:1 original, turned out to be more difficult than I had anticipated. It took me about 180 hours to complete, but both I and the gallery show organizer were extremely pleased with the results!