TARDIS
Commissioned 1:1 Scale TARDIS Prop
Over the years I have built several reproductions of the TARDIS from Doctor Who.
The first one I built was with my cousin, back in 1984, to use as an entrance to a gaming room in his basement. We had to scale it down to fit with the low ceiling, which resulted in a small box, but the effect of a large room within worked extremely well!
Immediately, I made a second TARDIS for myself. I had very limited funds and reference material but soldiered on, and the resulting box was used for a changing booth for our swimming pool.
My third TARDIS was my first commissioned one and was intended as a gift for the client's son. The box was made to the client's budget, choice of materials and color selection. The client's son was surprised and delighted when it was unveiled.
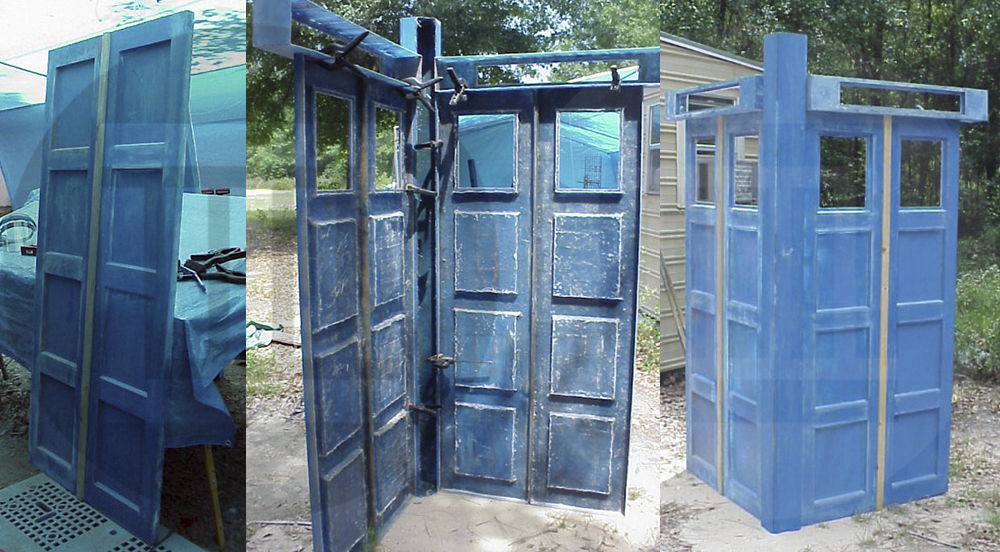
The client for build number four had a larger budget and a clearer idea of what he wanted. Box 4, like all of the others I've made, was engineered to be collapsible for ease of storage and transportation.
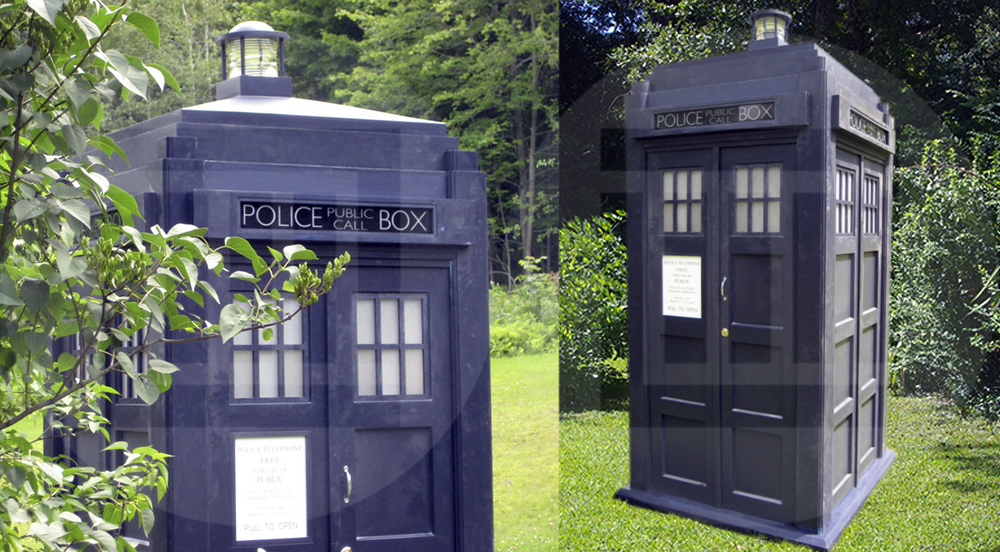
My fifth and final TARDIS, seen here, was the most "accurate" of all, and the one I am proudest of. The client for this version had a larger budget than the previous clients, which helped greatly, but I also learned the importance of being cautious about accepting a project that requires learning a whole new skillset, and making sure the client sticks to their initial decisions from start to finish.
In 2017 I scaled down my original blueprints for the Fifth TARDIS to construct a 1:6 scale model commission.
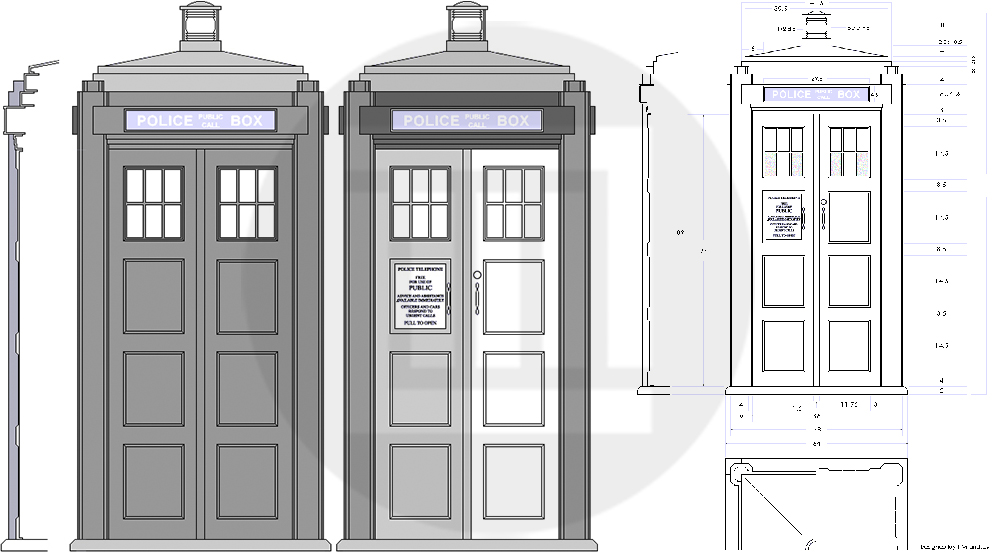
Design & Planning
I created a design that blended elements of the various TV props but still retained the overall look of the original 1963 prop. Unfortunately, the client changed certain details as we went along, which required re-engineering/re-building some things.
Engineering
To avoid the labor and expense of building wooden Tardis pieces to mold, then make castings of, I decided to eliminate some steps by making wooden molds of a NEGATIVE Tardis, wax them, then pull fiberglass castings directly from those.
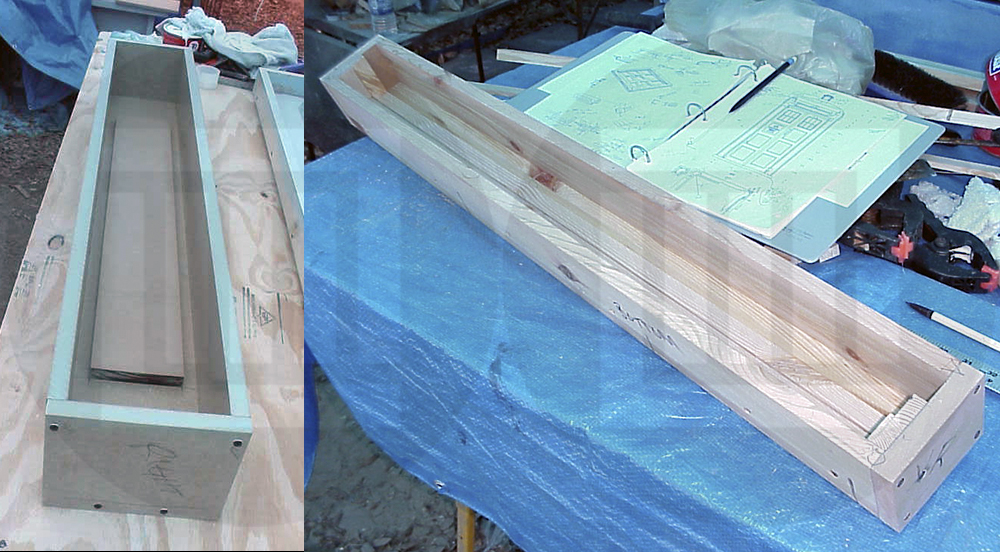
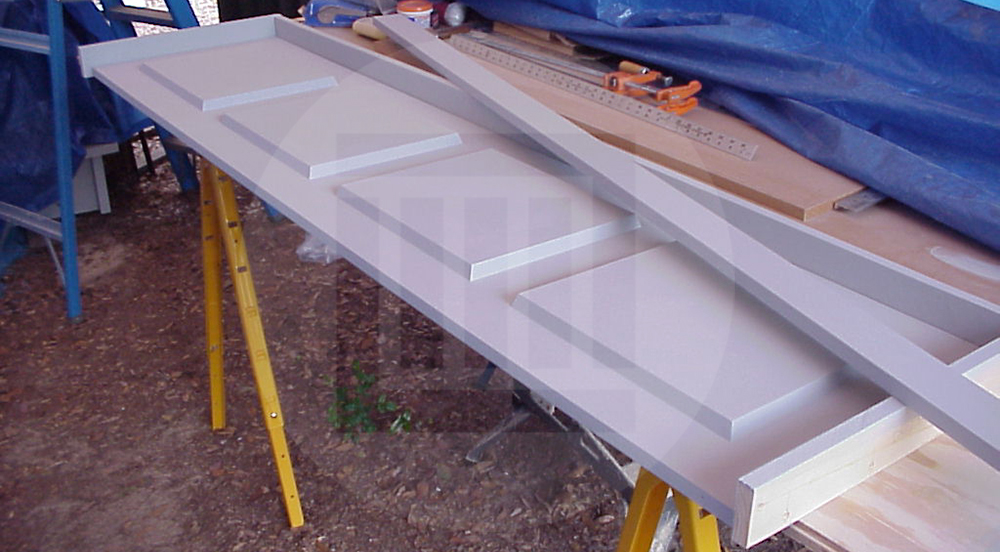
Molds
The advantage of using wood for my molds was that the fiberglass castings retained the raised woodgrain detail. Even after priming and painting, the woodgrain texture came through and helped create the illusion of a wooden structure.
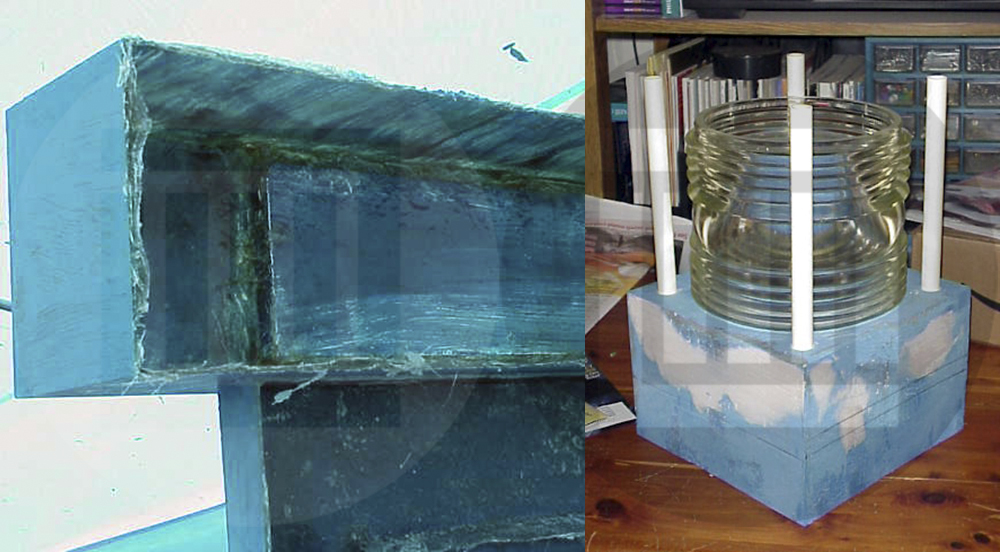
Castings
I made each fiberglass casting roughly 1/8"-1/4" thick, which was possibly over-kill, but since this Box's initial home was going to be in a Northern climate, it potentially needed to stand up to snow if left outside!
Test Fit
This Box, like all the others I've built, was designed to break down into a few components for ease of transportation and assembly. Each component has bolts permanently mounted into the structure so nothing gets lost or misaligned.
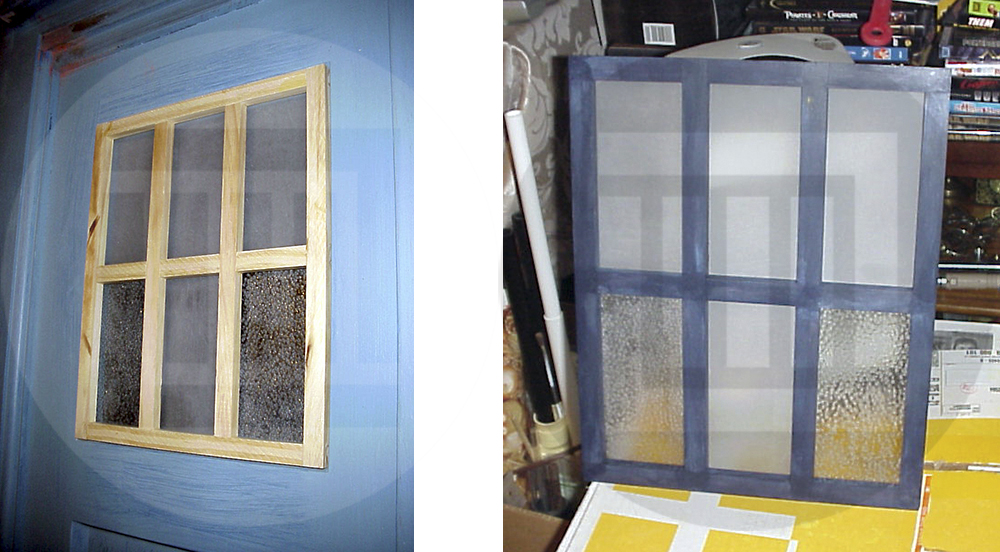
Windows
I cut polycarbonate into individual panes and chemically welded them into a single sheet for each window. This allowed me to reproduce the combination of frosted and pebbled glass the Tardis windows have. I made wooden window frames and sealed them before painting.
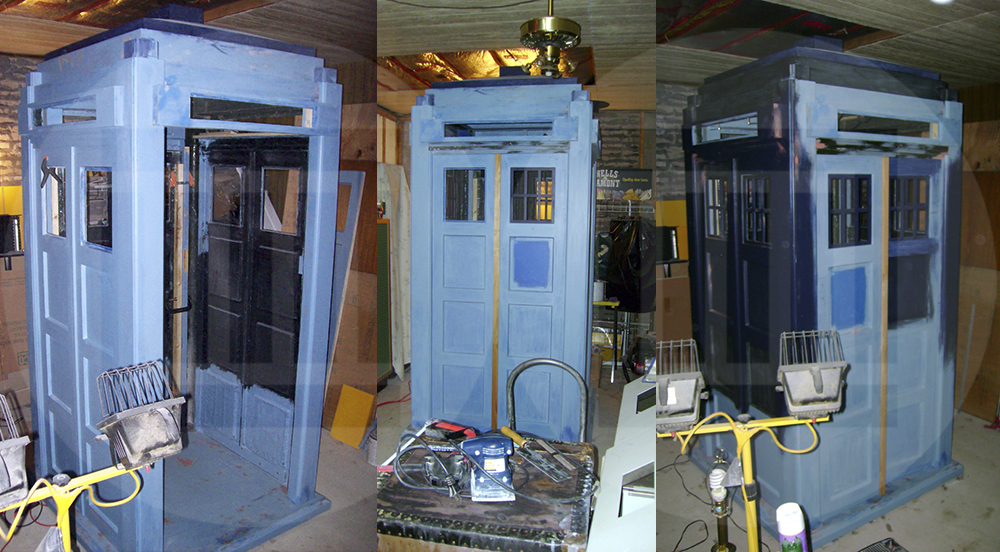
Assembly
I did a "final" assembly before painting to see if either the design or fastening methods needed any tweaking before painting. I did re-adhere some parts with epoxy resin since it turns out that Gorilla Glue does NOT permanently bond to fiberglass (as they claim)...or to much of anything else, in my experience.
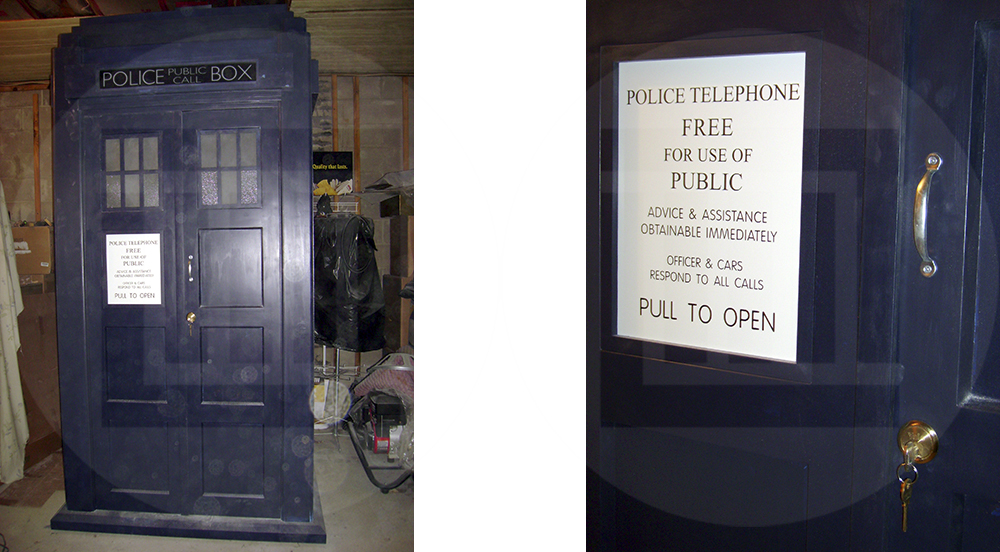
Painting
The TV prop was different colors over the decades, so no color is definitive. This client chose Cardiff Blue for his, which was a good choice. He also provided the sign plates and a Yale lock similar to the TV prop's (which required some construction mods). I found a key, locally, that is accurate to what is used in the 2005 revived series.
Final Thoughts
Ultimately, this project took far longer than expected. This being my first large fiberglass project, the client changing important details, and my area being devastated by two major hurricanes during the project, all contributed to the delayed completion. But, 8,000 hours later, we agreed that the finished piece was worth the effort put into it.